Taking garden bird photographs from a distance
Choose the watching position first; the photograph should fit the bird’s ordinary behaviour.
Start with an empty branch
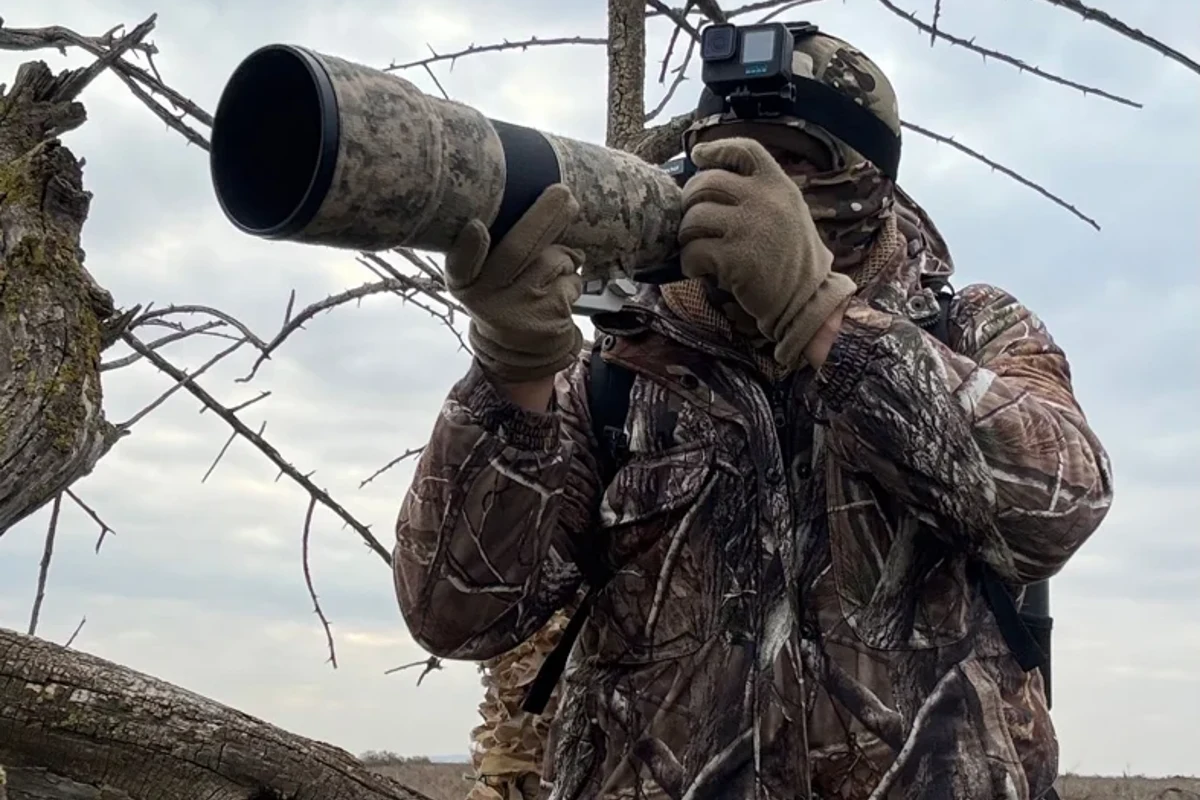
Before a bird arrives, practise on a branch at the distance you expect to use. Check focus, exposure and how steadily you can hold the camera. This removes the need to experiment frantically while the subject is present. A stable seated position often improves a photograph more than moving several steps closer.
Choose a place you can occupy without blocking a feeding route, nest approach or access to cover. The fact that a bird remains nearby does not prove it is undisturbed. If it repeatedly stops what it is doing to watch you, increase the distance or end the session.
Decide what the picture needs to show
For identification, a side view showing the head, wing and tail may be more useful than a dramatic head-on portrait. For a garden record, the plant or surface being used may be the important part. Decide which question the image should answer before filling the frame with the bird.
A bird can be small in a successful photograph. Including the hedge, leaf litter or tree trunk preserves context and reduces the pressure to approach. Save the uncropped original even if you later produce a closer version for viewing.
Balance movement and light
A fast-moving bird needs a sufficiently short exposure to avoid motion blur. In dim light, that can mean a higher ISO or a wider aperture, depending on the camera. There is no universal setting that works for every bird and every garden. Take a few frames, review them and adjust one variable at a time.
If the background is bright sky, the camera may expose for the sky and leave the bird dark. Learn how your camera's exposure compensation behaves on an empty target before trying it during a brief visit. Some shadow detail can be recovered later, but an image should not be edited so heavily that markings become misleading.
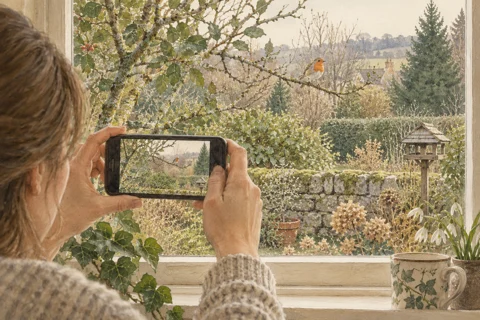
Through glass, keep unnecessary indoor lights off and avoid a steep angle where possible. Do not press equipment against a window in a way that risks damage, or lean out to remove the barrier. A clean, safe view is sufficient.
Keep the encounter unarranged
Do not use recorded calls to bring a bird into position, clear vegetation around a nest or place food specifically to hold a bird in a vulnerable spot. An attractive perch is not a reason to alter a nesting route. Photographing an active nest can also involve legal restrictions and specialist requirements; ordinary garden photography does not need a nest as its subject.
Flash and repeated close approaches can change the encounter. Use available light and accept the limits of your position. If a bird leaves, let it go rather than following it through the garden for one final frame.
Review for evidence as well as appearance
At the computer, keep a note of the date, location and behaviour. Remove exact nesting locations from images or public descriptions where disclosure could cause disturbance. A beautiful photograph can still be an uncertain identification, particularly when age, angle or light hides a key feature.
Compare several frames before selecting one. The sharpest may show an awkward posture, while another explains the behaviour better. You can retain both for different purposes. The value of the session is not measured only by how large the bird appears: an undisturbed feeding sequence, documented honestly, can be the more interesting result.